 Pack
Three sizes, three jobs
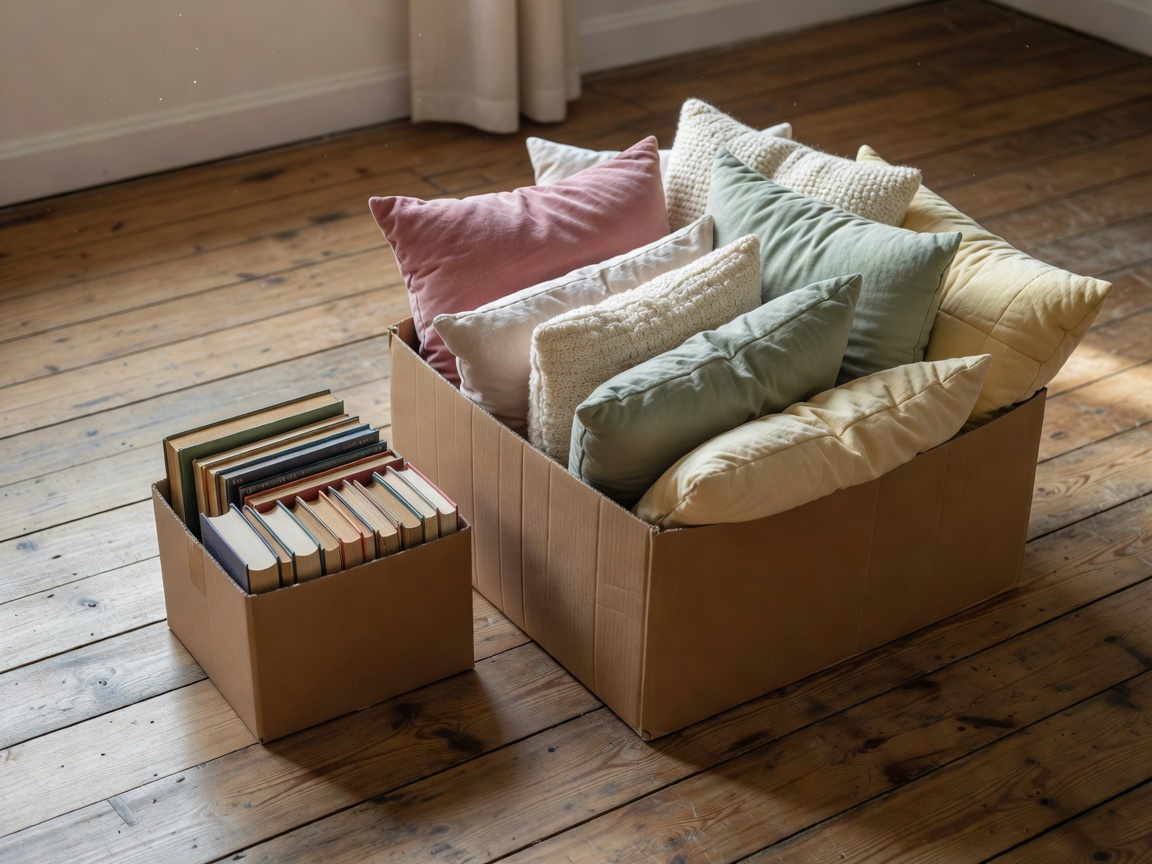
Match the box to the weight, not to the room.
- Small
- About 30 cm cube: books, tins, tools
- Medium
- About 45 × 35 × 35 cm: kitchen, shoes
- Large
- About 60 × 40 × 40 cm: bedding, cushions
Stage one: pack
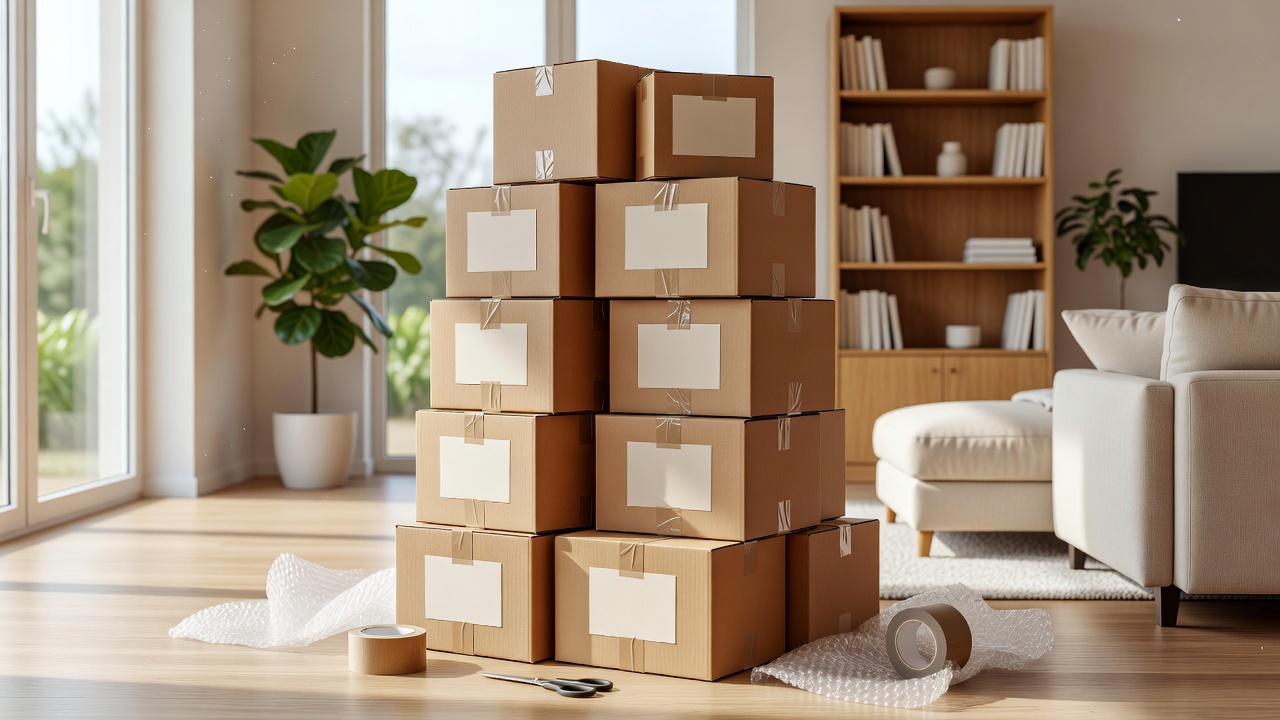
You only need to wrap each thing once. These are the supplies that make that true, in the order you will reach for them.
Step 01
Most of the pain of packing comes from boxes that are the wrong size for what is inside. A big box of books is a back injury waiting at the top of the stairs. A small box of towels wastes tape and a trip. The simple rule is heavy things in small boxes, light things in big boxes, and nothing heavier than you can comfortably carry up a flight of stairs.
For a typical home you will want three sizes, plus a wardrobe box if you have a lot of hanging clothes. Double-wall cardboard costs a little more than single-wall but survives being stacked and restacked, and it can often be reused afterwards.
PackMatch the box to the weight, not to the room.
Second-hand boxes from neighbours or removal firms are fine if the corners are crisp and the base is dry. Skip anything that has held food, because it can attract pests, and anything that has gone soft at the bottom.
Step 02
A tape gun is the cheapest upgrade in the whole move. It seals a box one-handed in two passes: one strip along the seam and a second across the base for strength. Paper tape is easier to recycle, while plastic tape is stronger on heavy boxes. Choose by the box, not by principle.
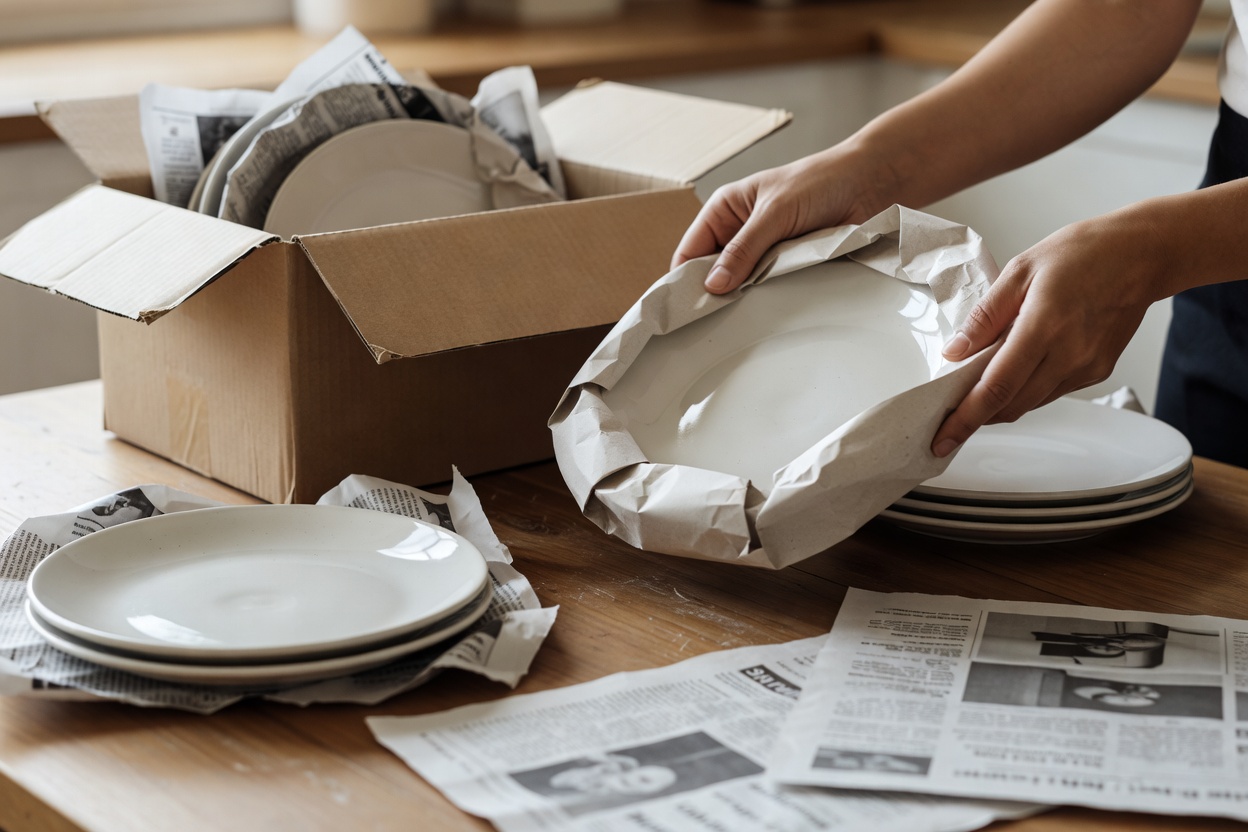
Wrap plates in plain packing paper, not newspaper. The ink rubs off, and you will spend your first evening washing every plate you own. Stand plates on their edges, never flat, because edges are stronger than faces. Put a crumpled-paper cushion at the bottom and top of every box.
Glasses need paper inside as well as outside. Put the heaviest items at the bottom and the lightest on top, and fill every gap. A box that does not rattle when you tilt it is a box that has been packed properly.
Mirrors and picture frames travel best in cardboard corner protectors or a purpose-made mirror box. A television should travel upright, ideally in its original box, and never flat.
Step 03
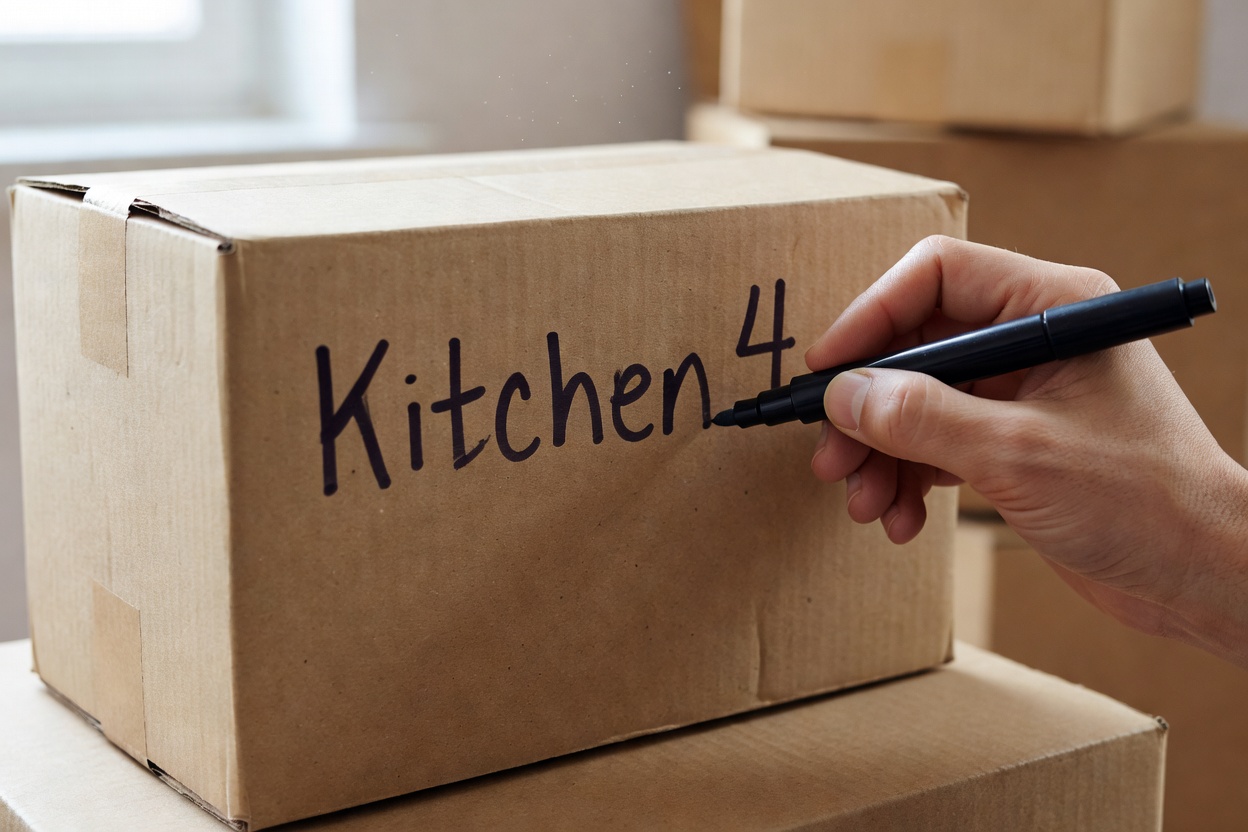
Label the side of the box, not the lid, because lids vanish under other boxes. Write the destination room, a number and a priority, for example "Kitchen 4 – open first". A coloured dot per room helps movers who are in a hurry and have never seen your house before.
The habit that matters most is labelling as you close the box. Never promise yourself you will do it later. By box thirty you will not remember what is in box three.
Keep a simple list on your phone with the box number and three words for the contents. When something is missing you can search instead of opening twenty boxes. Mark the boxes that must stay upright with arrows, and mark honestly: a "fragile" label on every box means it stops meaning anything.
Step 04
Pull-out timetable
Spread it out and nothing feels urgent. If you are short of time, do the kitchen first, because it takes longer than every other room put together.
Next, plan the truck day or see how to lift the heavy things safely.
Your privacy choices We use necessary cookies to run the site and, with your consent, optional ones to measure visits. You can change this at any time. Read more